We're excited to guide you through the delightful process of making your very own wax melts using our expertly curated kit. Whether you're a beginner or looking to reignite your creativity, you'll have all the steps laid out clearly and concisely.
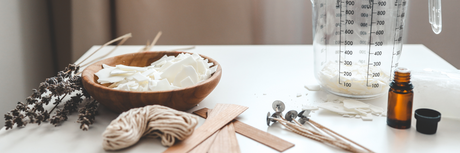
Ready to get started? First, let’s ensure you have everything you need in addition to the items supplied in your kit:
- Stirring stick
- Thermometer
- Safety gloves
- Paper towel
- Digital Scales
Once you’ve confirmed you have all the necessary supplies, let’s set up your workspace for an enjoyable wax melt-making experience.
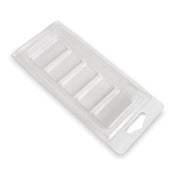
Step 1: Prepare Your Clamshells
Ensure your clamshells are clean and dry. Place them on top of paper towels to catch any spills or overflow, and make sure the area will not need to be moved once the melts have been poured. A tidy workspace is essential for achieving a great final product.
If your kit includes glitter or mica, take a moment to sprinkle a bit into the bottom for that extra sparkle before pouring the wax. Feel free to use as little or as much as you like.
Step 2: Measure and Melt the Wax
Each clamshell will hold approximately 50g of wax and fragrance combined. For each clamshell you plan to make, weigh out 45g of wax and place it into your pouring jug (use a different jug for each scent you intend to make).
We recommend using a double boiler for melting the wax, but a microwave-safe container works just as well.
Heat the wax to approximately 80°C (176°F). If using a microwave, melt in short intervals, stirring between each burst. Once the wax is entirely melted, carefully remove the jug from the microwave, keeping in mind that the wax is quite hot.
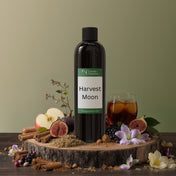
Step 3: Blend in Fragrance and Colour
Using your digital scales, weigh out your fragrance oil. For a scent load of 10%, add 5g of fragrance oil per 45g of wax used. If you’d like to add colour, now’s the time to mix in a few dye chips. Stir the mixture well for 90 seconds to ensure the fragrance oil and dye chips are fully blended with the wax.
Step 4: Pour the Wax
Our clamshells are made from 86% recycled materials, which means care needs to be taken when pouring to ensure they do not melt. Wait until your wax has cooled to 60°C (140°F) and gently pour the melted wax into your prepared clamshells, filling them just below the top. Allow the wax to sit undisturbed for about 10-15 minutes until it begins to solidify.
Step 5: Cool and Remove
Allow your wax melts to cool completely, ideally leaving them overnight. Once fully set, you can either close the top of the clamshell for storage or carefully remove the wax melts from the clamshells.
Step 6: Curing
As tempting as it is to use your wax melts straight away, soy wax needs time to cure before you'll experience the true scent of your creations. We recommend allowing a minimum of 10-14 days for curing.
Congratulations!
You've just created your very own batch of fragrant wax melts! If you have any questions or need assistance, our customer service team is here to help.
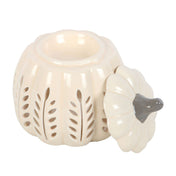
Step 7: Enjoy Your Wax Melts
To use your wax melts, simply place them in a wax warmer and enjoy the delightful aromas they release.
Important Note:
These kits are designed for personal enjoyment. If you plan to sell your creations, please ensure you comply with all relevant regulations, including safety and labelling requirements.
Prefer to print this guide? We’ve got you covered—click here for a PDF printer-friendly version.