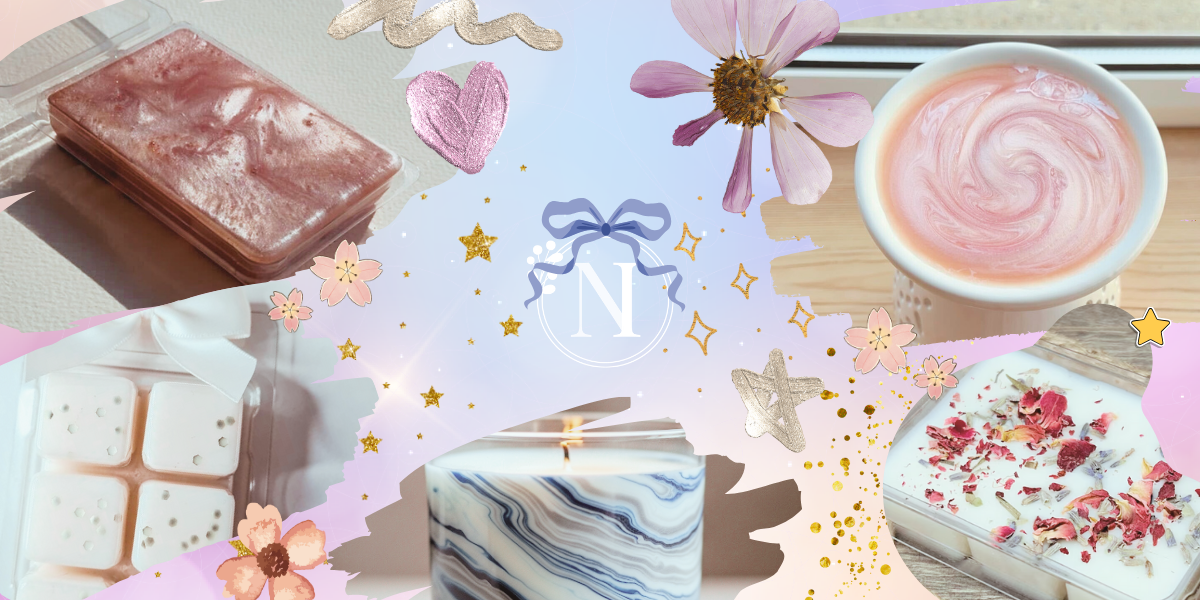
Personalised candles and wax melts are changing the way we bring fragrance and style into our homes. By customising your candles and wax melts, you open up a world of creative possibilities and gift ideas that truly feel one-of-a-kind. In this guide, we’ll walk you through the must-have supplies, creative methods, and tips for those hoping to design their own custom candles and wax melts.
Whether you’re marking a big milestone, refreshing your home with new scents, or searching for thoughtful gifts, you’ll find plenty of inspiration and practical advice to help your projects shine.
Table Of Contents
Discovering The Magic Of Customising Candles And Wax Melts
Customising candles and wax melts lets you put your own stamp on every piece you create. From colours to textures, and fragrances to decorative touches, each option gives you the chance to reflect your personality or a special message.
Customising
With custom candles and wax melts, you can pick from a wide range of fragrances, experiment with playful colours, and try out unique effects. For instance, sprinkle in MICA glitter for a shimmering finish on wax melts, use candle wax dye to achieve vibrant or subtle shades, or swirl colours together to create elegant marble effects. Adding dried flowers (melts only), a dash of shimmer, or even layered colours can transform your creations into a luxury candle or wax melt.
Customising
"A little sparkle goes a long way."
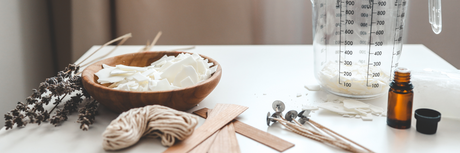
Essential Supplies To Elevate Your Candle And Wax Melt Creations
Selecting the best materials is at the heart of customising candles and wax melts . Every choice you make, from base waxes to decorative finishes, shapes the way your creations look, perform, and fill a space with fragrance.
Fragrances, Colours, And Decorative Materials That Make All The Difference
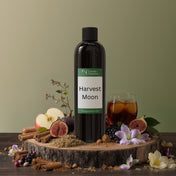
Start with high-quality fragrance oils if you want your candles and wax melts to be truly highly scented and long-lasting . Our range covers both timeless favourites and more adventurous scents so that you can match any mood, season, or occasion.
Colour is where your personality shines through. With candle wax dyes, you can create everything from soft pastels to bold, dramatic tones. For something eye-catching, try swirling two colours for a classic marble effect, or layering different shades to produce snap bars and candles that stand out. Just remember to use dyes formulated for wax to keep colours true and safe.
Decorative touches make all the difference . MICA glitter is a favourite for giving wax melts extra shimmer—perfect for gifts or special collections—while dried botanicals, like rose petals or sprigs of lavender, bring a handmade, natural feel. Whichever elements you choose, double-check they are heat-safe and designed to withstand the melting process.
The essentials don’t stop at scents and sparkle. You’ll need quality waxes (think soy, beeswax, or paraffin), reliable clean burning wicks , and the right moulds or jars for shape and style.
Your Creative Journey: Mastering Customisation Techniques
Customising candles and wax melts lets you infuse every piece with your personal style or brand identity. With a few simple techniques, your collection can tell a story that’s entirely your own.
Marble Effects, Shimmer Touches, And Beautiful Colour Blending
Marble effects instantly upgrade both candles and wax melts with a look that’s full of character.
No two pours are ever the same, giving your handmade candles a truly luxurious finish. The result? Distinctive snap bar patterns or eye-catching ombre melts that feel truly unique.
customising

If it’s shimmer you’re after , a dash of MICA powder goes a long way . Add it directly to your wax melts to create pieces that glisten as they melt. Use just a little for a soft glimmer, or build up layers for a show-stopping finish that’s perfect for birthdays, weddings, or any occasion worth celebrating.
For another sparkly option, why not try our EcoSparks glitter ? Designed to add a little bit of magic to your wax melts, simply sprinkle some glitter into your moulds before pouring the wax. *
customising

*Please note that neither of these products is suitable for use in candles, as they can clog the wick and are not intended to come into contact with a candle flame!
Colour blending turns everyday creations into one-of-a-kind designs.
Mix and match candle wax dyes to find the exact shade you want—try cool blues and greens for a spa-like feel, or go for pinks and golds for something cheerful and romantic. Try customising on a small scale first, so you can test out your combinations before making a full batch.

A few extra ideas to make your designs stand out:
- Embed dried flowers or botanicals into melts for a true handcrafted touch
- Experiment with creative moulds, like love heart shapes or chic stars, for custom snap bars
- Package your creations in stylish glass jars , tins, or classic boxes and finish with thoughtful labelling
How To Craft Shimmery Wax Melts
So let's dive into how you can actually start customising your wax melts. Check out our tutorial below, where we craft the most gorgeous shimmery wax melts using the fragrance Black Rose & Oud.
What you're going to need:
Using our Scent Load Calculator with a scent load of 10%:
- 72.7g Rapeseed & Coconut melt wax
- 7.3g Black Rose & Oud fragrance oil
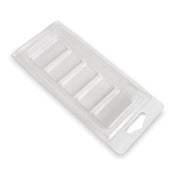
- Segmented Clamshell - this one holds 80g of wax melt
- 1g Light Rose Bekro Dye Chips (less is more!) Use 1 gram per kilo for light shades or 2 grams per kilo for more vivid colours.
- A sprinkle of Glamour Red Ecosparks Glitter to coat the clamshell
- 3g Aphrodite Mica Powder - blends perfectly at a 5% ratio with wax

The Method
Firstly, sprinkle the glitter on the base of the clamshell
Measure out your wax and melt it using your preferred method, keeping an eye on the temperature! Heat until the wax is fully melted. (aim for about 70°C)
Add fragrance oil and dye chips to the molten wax and give a good stir until the dye chips have melted.
Sprinkle the mica powder in and give another good stir to make sure it thoroughly mixes in with the wax.
Time to pour into your clamshell! The optimal pour temp is between 55 - 60°C
Leave to cure for 24 - 48 hours, then you're good to go!
Related Readings


Layered Colour Candles
Creating layered candles can add a beautiful and unique touch to your candle-making projects. Here’s our step-by-step guide to help you achieve that quirky look.
What you're going to need:
- Candle wax (soy, paraffin, or beeswax)
- Bekro Dye Chips (two or more colours)
- Fragrance oils (optional)
- Wax melter, double boiler or microwave-safe container
- Candle wick
- Wick Stickum
- Candle jar (clear)
- Adjustable Wick Holder
- Thermometer
- Swirling stick (wooden kebab sticks work great!)

The Method
Set up your candle-making area. Cover surfaces with newspaper or a drop cloth to catch any spills. Centre the wick in your chosen jar using a wick stickum and use a wick holder to keep the wick straight and centred.
Melt your wax according to the manufacturer's instructions. Heat it until it reaches around 80 - 85°C.
If desired, mix in fragrance oil at your desired scent load (up to 10%). Divide the melted wax into separate containers for each colour you want to use. Add chosen colours of Bekro chips to each container, adjusting the amount to achieve your perfect shade.
Allow the coloured wax to cool slightly until it reaches around 60 - 65°C. This temperature helps the layers blend without fully mixing.
Begin by pouring one colour of wax into the jar. Pour just enough to create a base layer, then allow it to set for a few minutes. Next, take the second colour and pour it over the first colour. You can also use a stick to gently swirl the wax and create a marbled effect. Continue alternating between colours, pouring and swirling until you reach the top of the jar.
Allow the candle to set and trim the wick to 1/4 inch. Cure for the appropriate time depending on the wax used (10 - 14 days for soy wax, 24hr for paraffin, coconut blends 3 - 7 days)
Conclusion: Perfect Gift Ideas For Life's Special Moments
Customising candles and wax melts lets you infuse memories into every detail —from the choice of scent to the shimmer of MICA and that beautifully chosen colour. Imagine presenting wedding guests with a signature fragrance or gifting bridesmaids a keepsake candle in their favourite shade, finished with a handwritten note. Beautiful packaging and custom labels make your creation every bit as visually delightful as it is fragrant. customising
There are so many moments where candle and wax melt personalisation shines:
- Wedding favours or table settings 💒
- Birthday and milestone celebrations 🎂
- Welcoming a new baby or celebrating a new home 🏡
- Thanking teachers, honouring colleagues, or surprising loved ones as part of a care package 🙏

FAQs
What tools do I need to get started?
Getting started with customising candles and wax melts is easier than you might think. You'll want some basics on hand, like a double boiler or wax melter for safe and even melting, a thermometer to keep an eye on temperatures, and silicone or metal moulds to create your favourite shapes. Pouring jugs, stirring spoons, and heat-safe scales help with accuracy and consistency every time.
If you’re making container candles, pick jars or tins that reflect your style. If you’re feeling adventurous, try piping bags for artistic swirls or use stencils and design software, like Adobe Illustrator, to add flair to your labels.
What are CLP regulations and why do they matter?
When you customise candles and wax melts for gifts or resale, meeting UK safety and legal standards is a must . The main things to watch are the CLP (Classification, Labelling and Packaging) rules and making sure every label includes the correct product information.
Check out the following blogs for proper guidance on CLP labels:
You Might Also Like...


NI Candle Supplies specialises in high-quality candle-making materials, offering a diverse range of waxes, wicks, and fragrances. Committed to inspiring creativity, we provide resources for beginners and seasoned artisans. Our mission is to empower candle makers with quality products and expert guidance, fostering a vibrant community of enthusiasts who share a passion for craftsmanship and creativity.